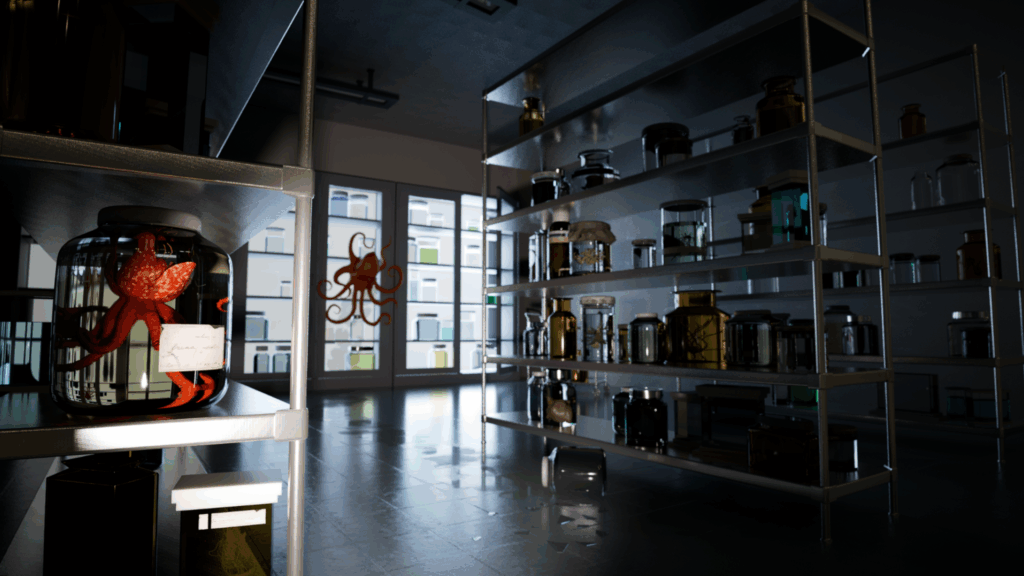
With the critique I received last class, I used the aiColorJitter node to add some hue and value variations to the liquid.
Renderer: Arnold
Number Of Lights: 3 (2 Spotlights, 1 HDRI)
Samples:
Camera (AA) – 6
Diffuse – 4
Specular – 4
SSS – 3
Transmission – 4
Week 10 – Class 19
Feedback from class:
Add color variation to jars (especially the ones in the cabinet)
Metal texture looks tiled, make more with streaks
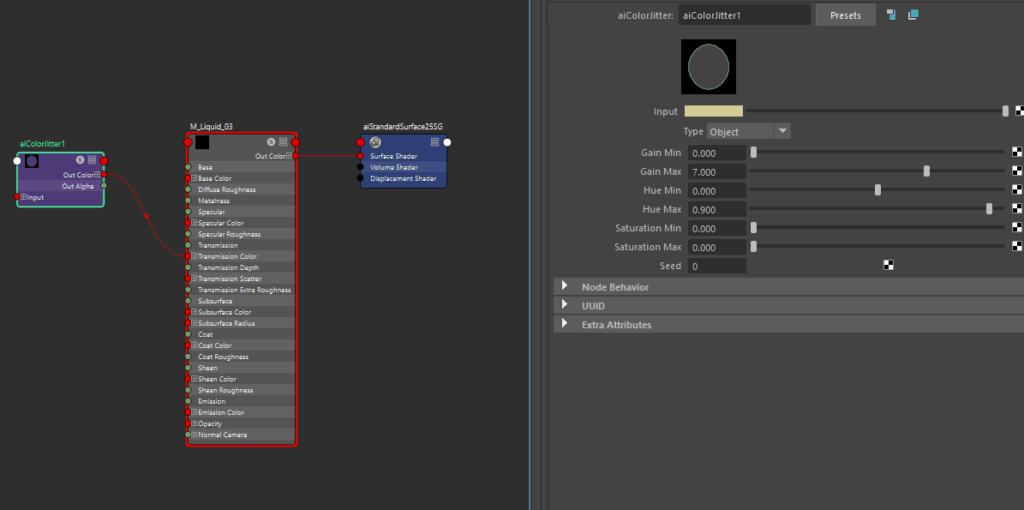
Final Render:
Since the render farm was extremely full over the weekend, I didn’t have many chances to re-render. For my next render, I would like to fix some of the rendering issues with the highlights.
Renderer: Arnold
Render Time: 26.9 minutes
Resolution: 1280 x 720
Number Of Lights: 3 (2 Spotlights, 1 HDRI)
Samples:
Camera (AA) – 6
Diffuse – 4
Specular – 3
SSS – 3
Transmission – 4
Week 9 – Class 17 & 18
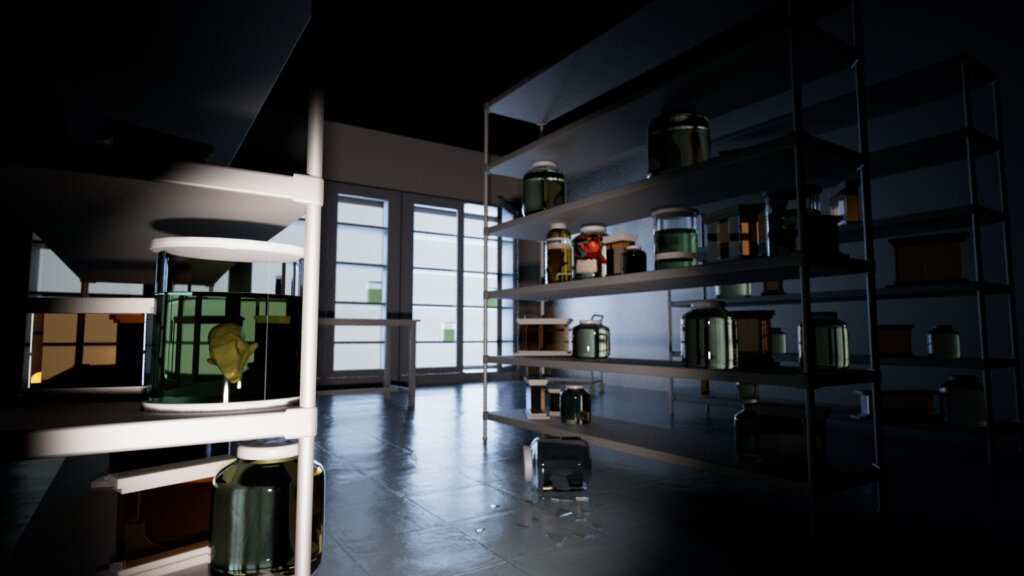
WIP Render:
I added in a bump map to the floor, which helps a lot and I will continue adding textures and imperfections to the scene. I also made the light coming from the back much cooler than before. I added depth of field in render, however, for the next render I would like to use z-depth in nuke to have some more control over it in post. I also plan to render out the different lights as separate layers for that reason too!
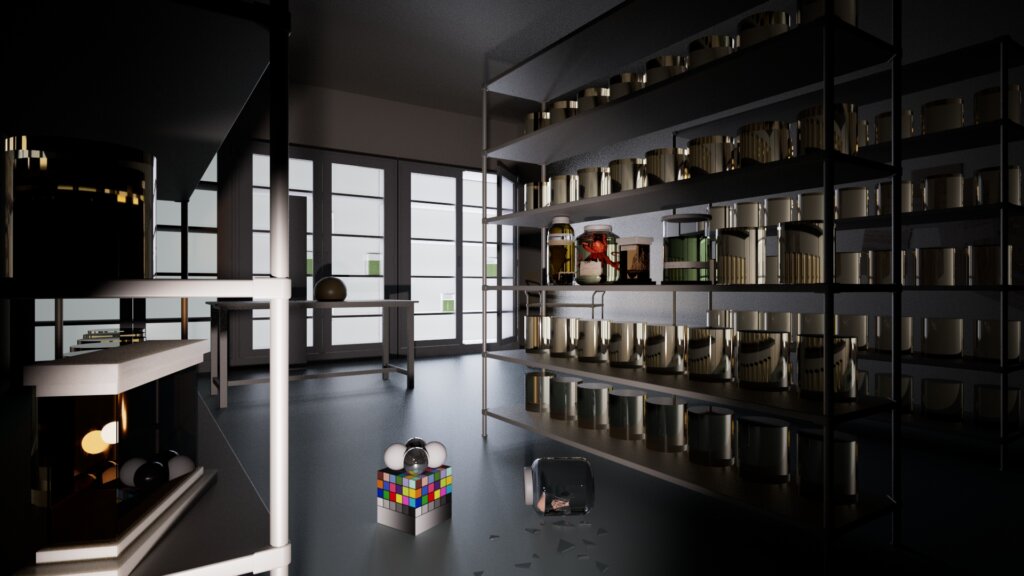
WIP Render:
Renderer: Arnold
Render Time: 13:36 minutes
Resolution: 1920 x 1080
Number Of Lights: 3 (1 Spotlight, 2 Area Lights)
Samples:
Camera (AA) – 4
Diffuse – 4
Specular – 3
SSS – 3
Transmission – 4
Test render and camera move:
By next class, I will have the final models in for all of the jars.
Some more lighting tests from this weekend. I combined the 2 I had before. I also added a vignette in post to put more emphasis on the area within flashlight. These were rendered in Maya Arnold and I will be bringing it into Houdini Arnold. Currently, the render settings are a little low and I still need to update some of the models. For the glass on the floor, I plan to use RBD for layout and simulate the glass breaking for that.
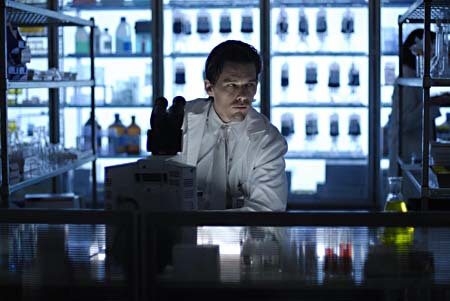
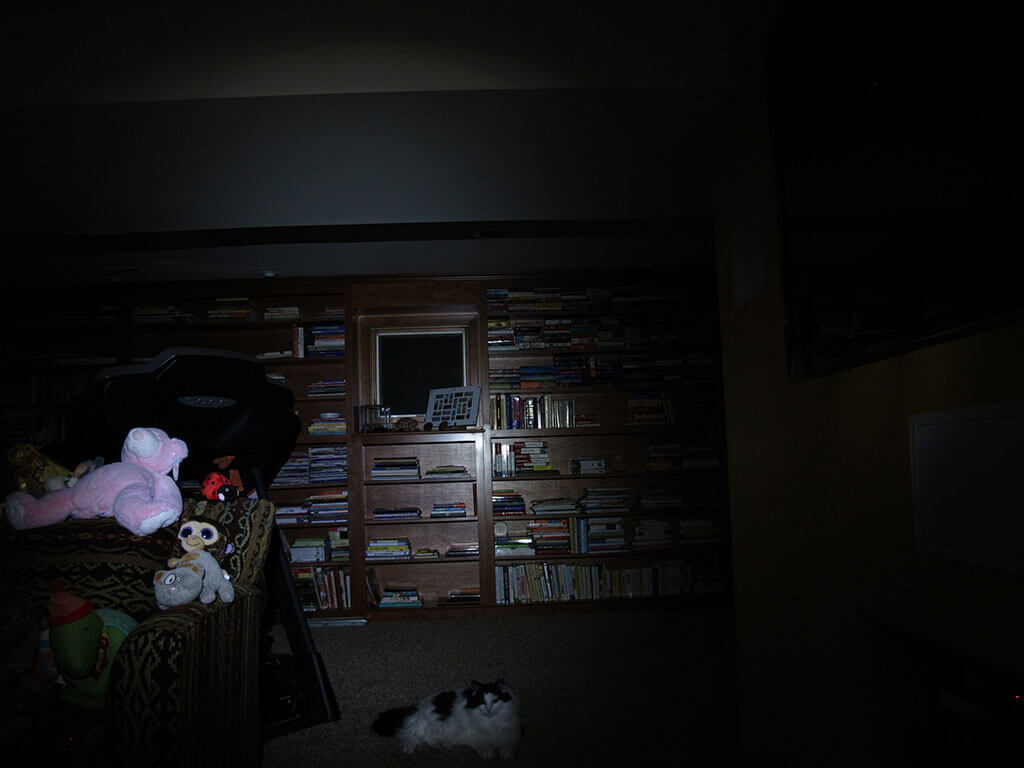
Professor Gaynor suggested that I find photograph reference of labs and flashlight lighting references to create a more realistic scene. These are a few that I found helpful:
Project Description: Using concepts in illustration you will “tell a story” (or multiple stories) through the creation of a fictional space, the objects in it and the lighting that helps to emphasize the story. The story must be represented by all elements in the scene. Environment must be based in reality, strive for photorealism, and use reference from the real world. Emphasis is on originality.
Project Idea: I am continuing my previous idea of a scientist’s lab to a larger environment.
Story: A group of curious friends find themselves in a lab full of fantastical creatures.
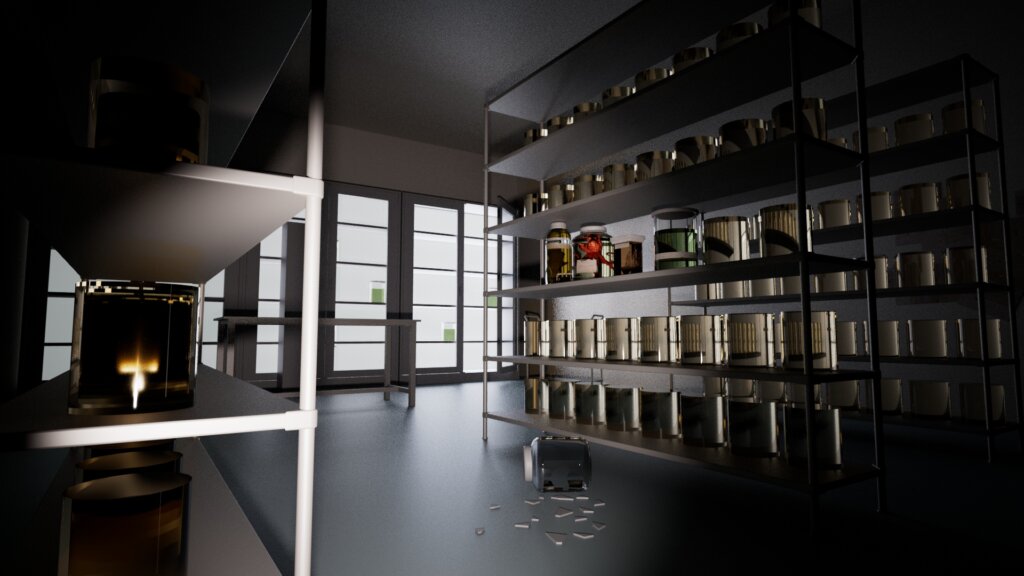
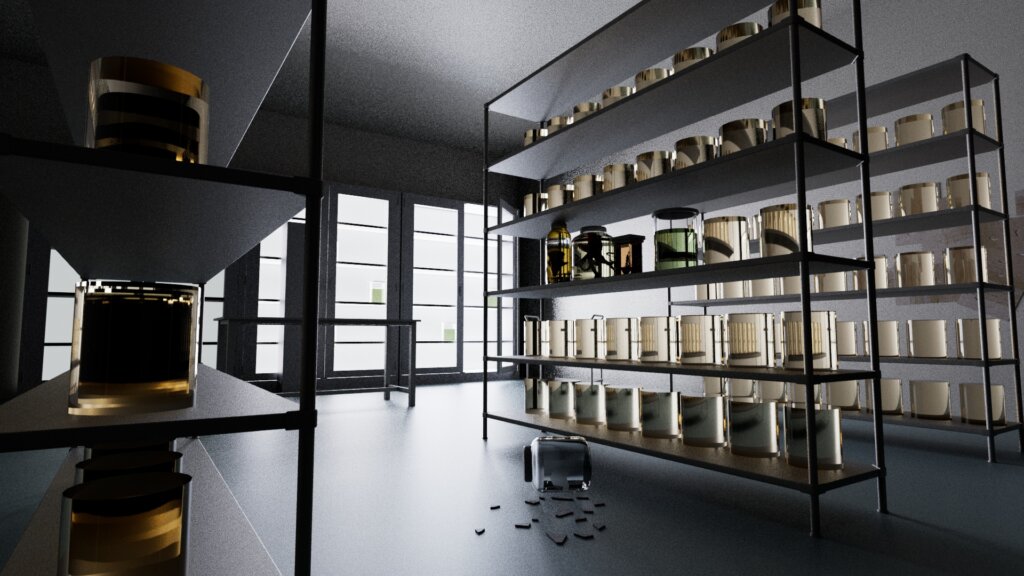
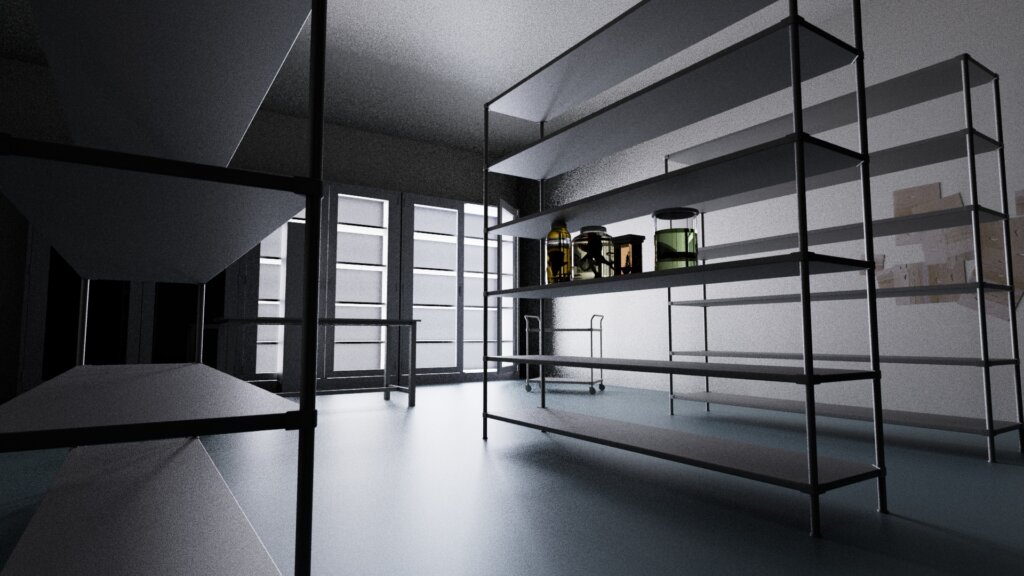
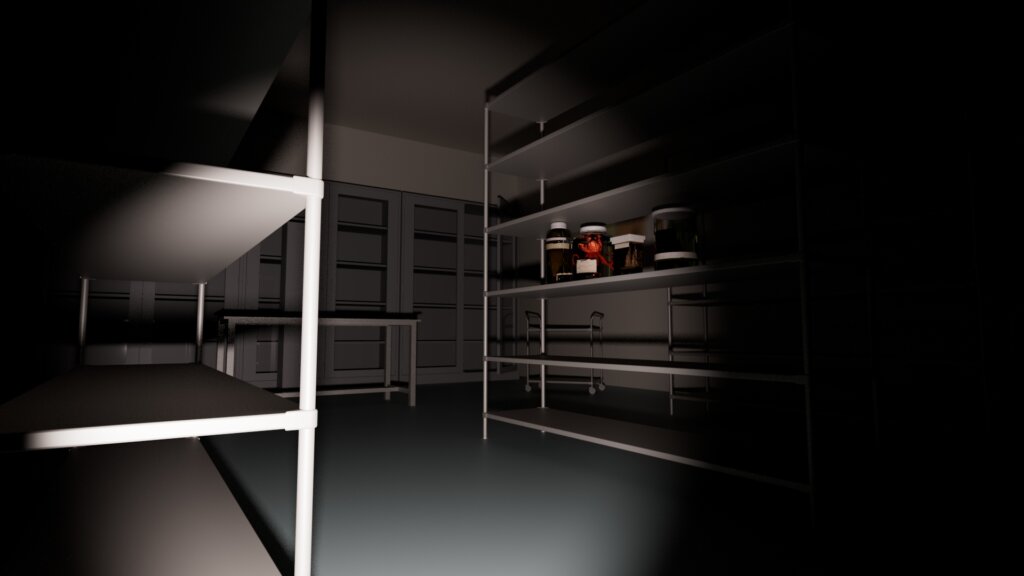
3D Layout and Lighting Tests:
The images above are two of the lighting tests I liked the most. I feel that the one on the right makes the viewer feel as if they are holding the flashlight. I think I’d like to keep experimenting and maybe try a combination of both!