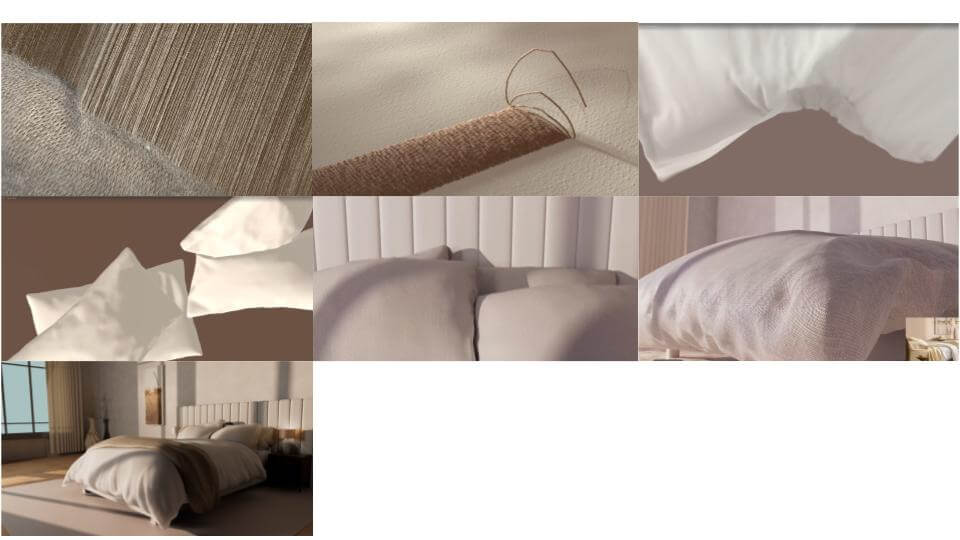
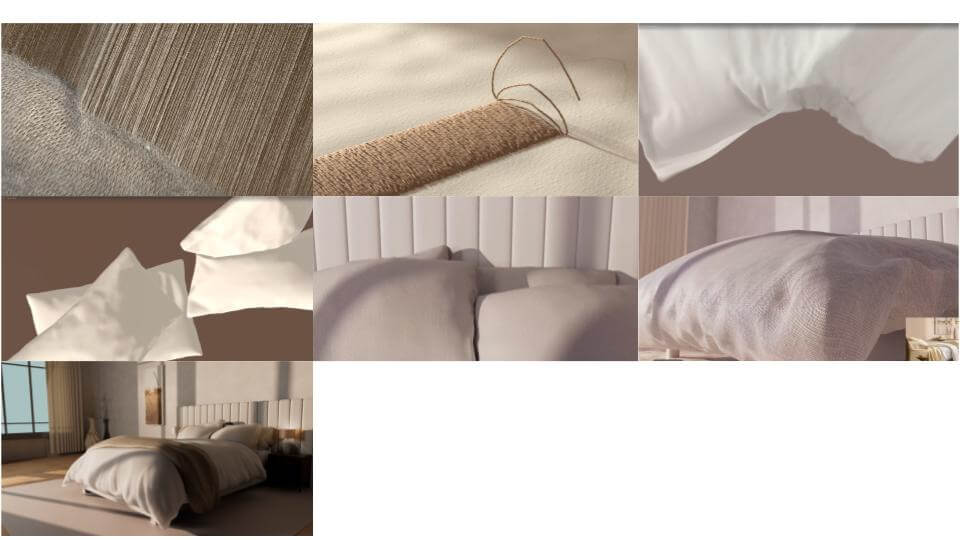
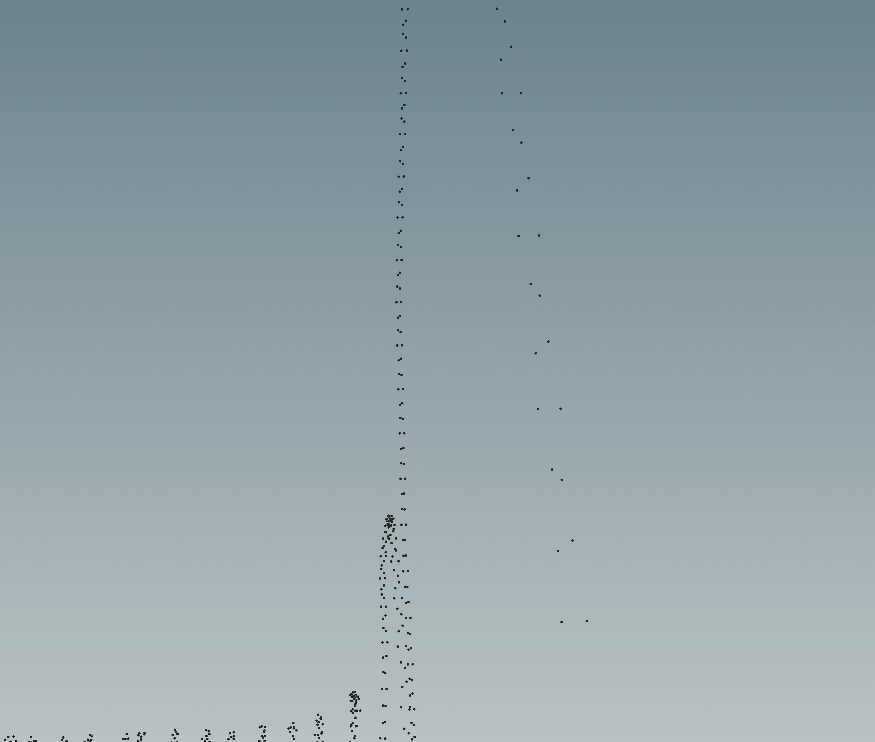
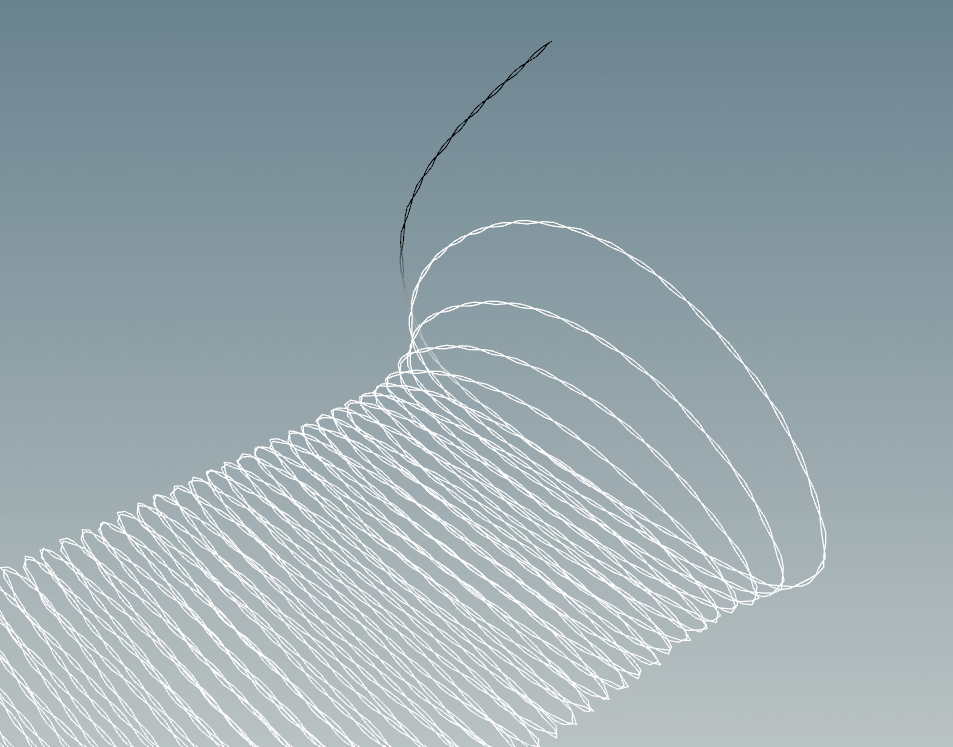
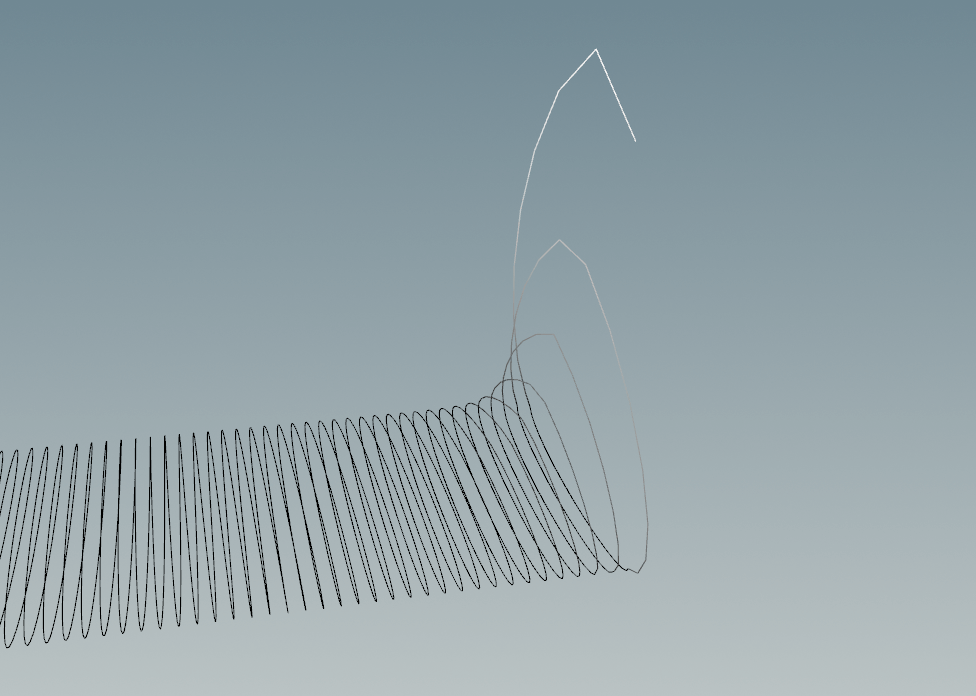
After adding the twisting threads yesterday, I started to have some issues with jittering (Image L)
At first, I thought it was that the point numbers were changing, so i tried using solutions with id attribute to fix that
When I looked closely, I realized, the problems weren’t caused only by the addition of points
The problems were also because the twisting points that create the pattern are continuing to twist every frame and don’t stop once they settled
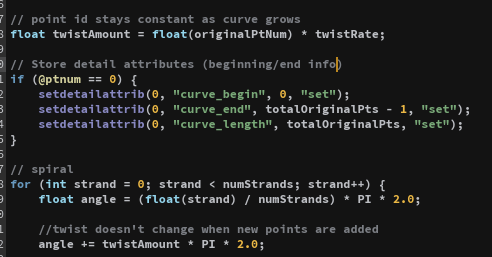
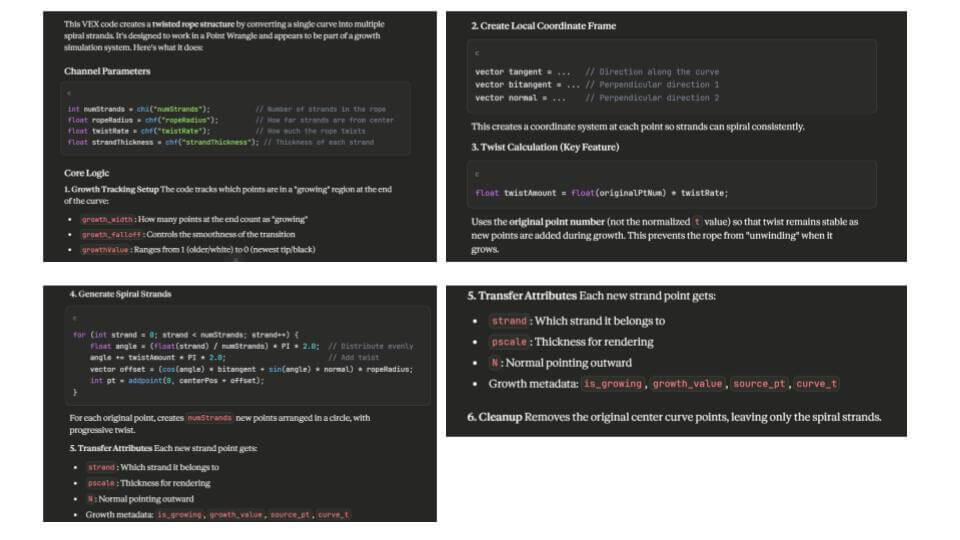
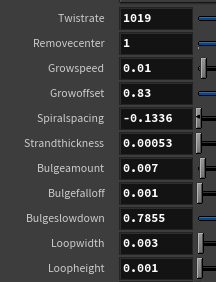
With some help from Claude AI, I was able to add onto the original VEX code to make sure that the twist only occurs when the points are added and not afterward, too
I used Claude to give an explanation as well to fully understand each step
Image L
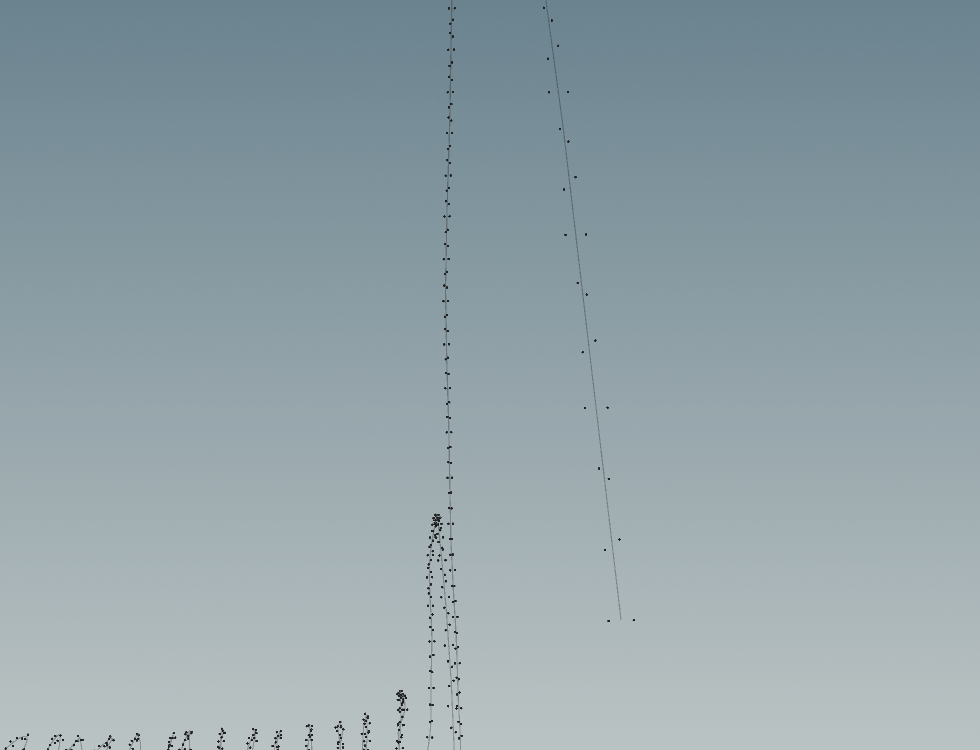
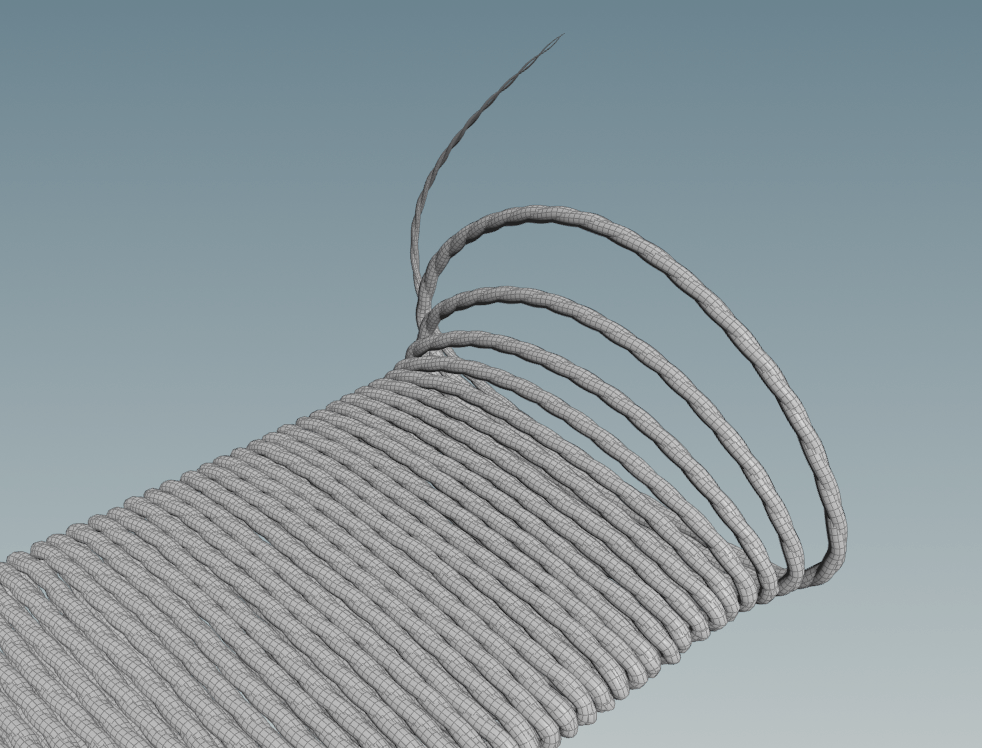
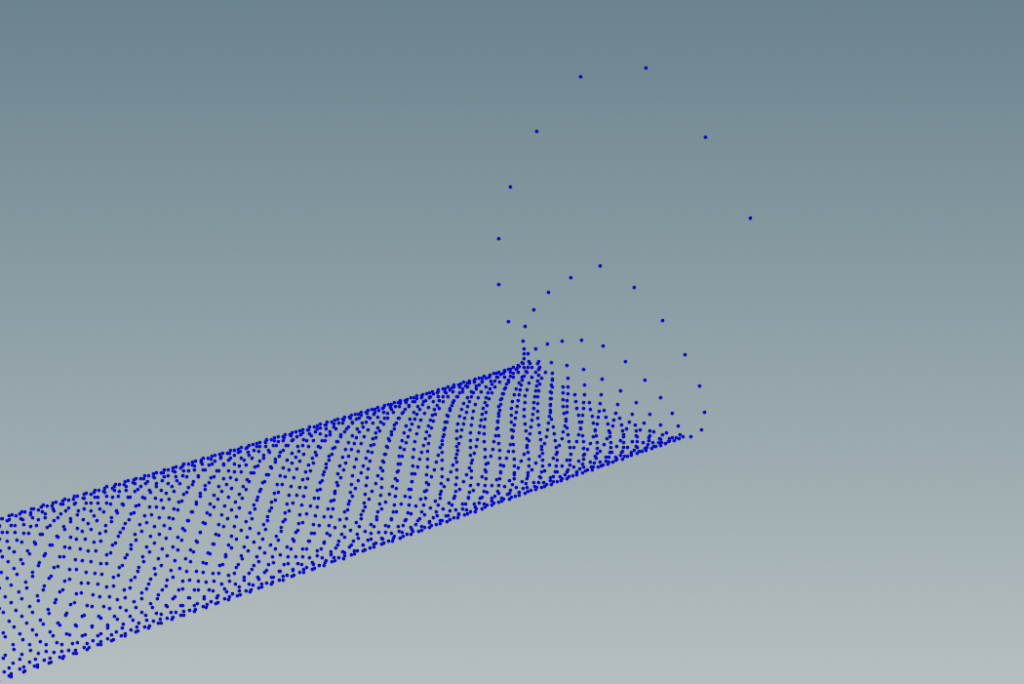
Image M
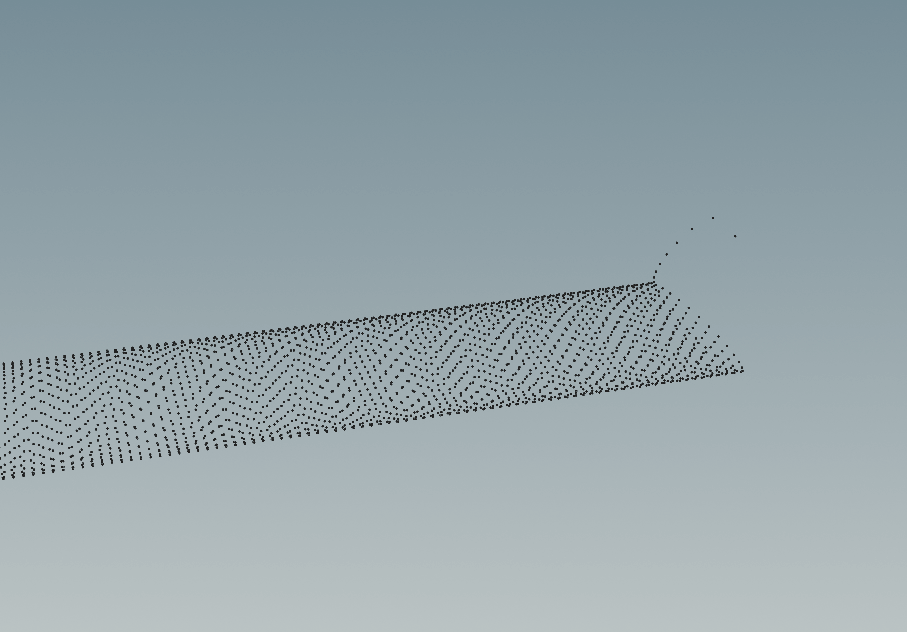
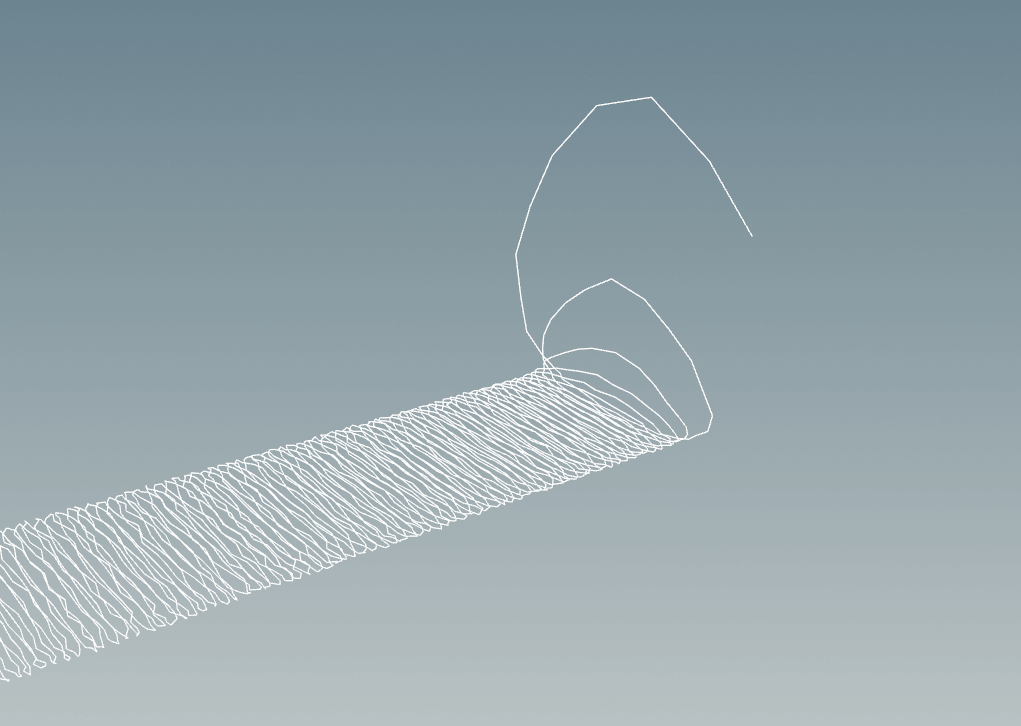
Image N
Feb 6, 2026
Shot 2 – Embroidery (Twist Pattern)
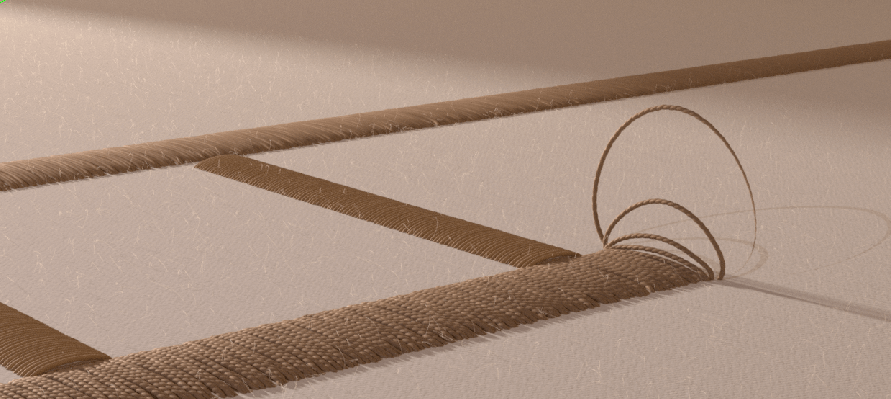
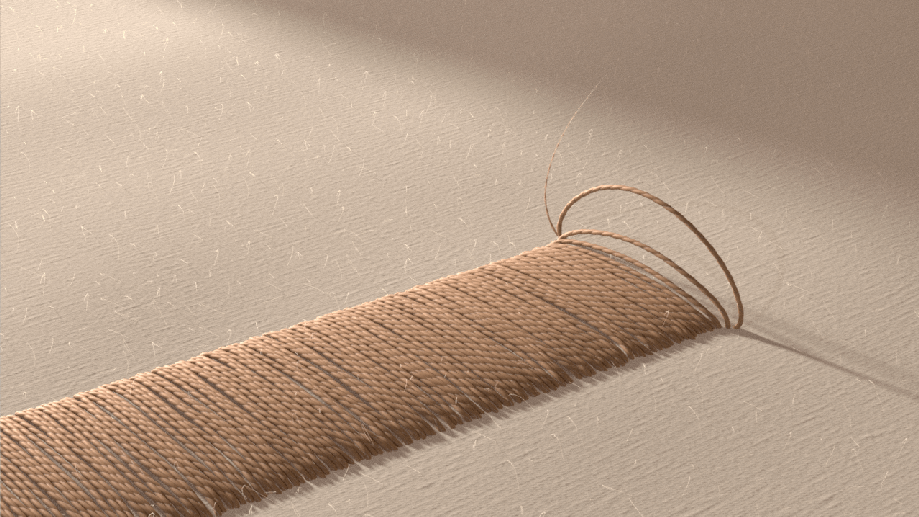
Using VEX I added in the twist pattern from last week back onto the thread
Image G + H – two points are constantly added and twist around the center line, created below in Image F
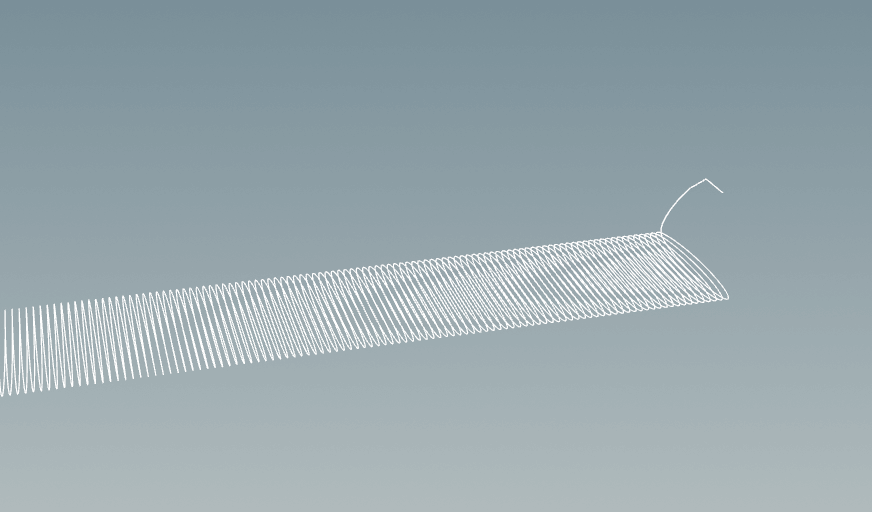
Image I – Add node to create curve for the twisitng points, while deleting the center line
Image J – Mask that can be controlled for newly added points to control pscale (thread is thinner at the tip, then grows)
Image K – Twist geo
Image G
Image H
Image I
Image J
Image K
Feb 5, 2026
Shot 2 – Embroidery
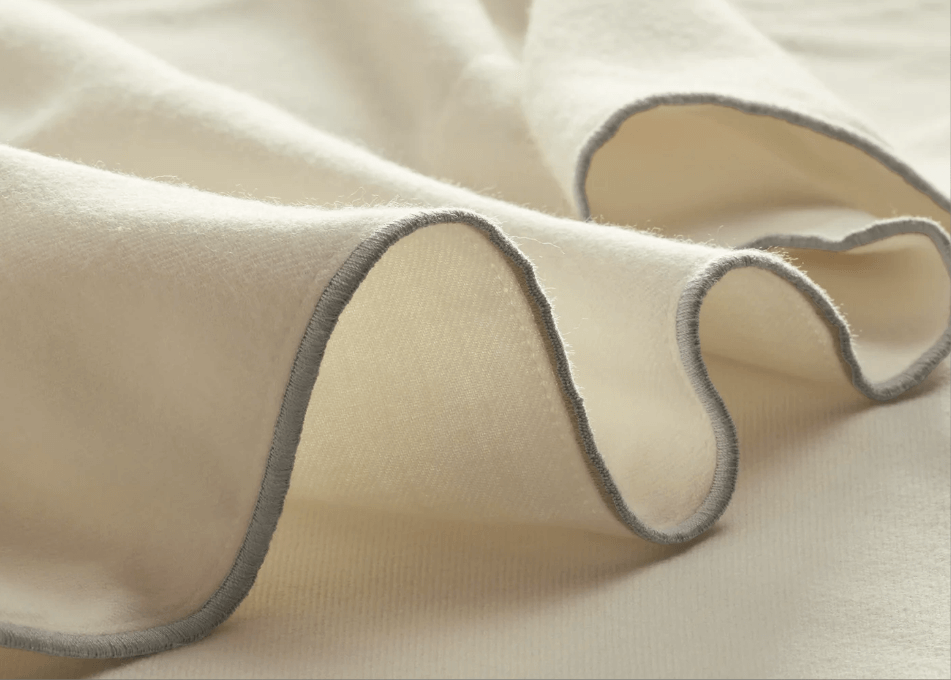
After exploring with the zigzag pattern for the embroidery, I think the old pattern wasn’t reading as embroidery
I decided I wanted the effect to replicate hand stitching instead
I used Claude AI to help me write a VEX script that would allow me to create a twisting pattern around an input curve. This gave me extra control over the exact pattern I wanted and where it would be on the sheet, with a custom curve.
With the help of Claude, I was able to create controls for loop width, loop height, spacing, growth speed,
Curve Pattern Creation:
Image A – Original curve for stiching to happen aroung
Image B – Points created for growing stiching effect
Image C – Add node to connect points and create string curve
Image A
Image B
Image C
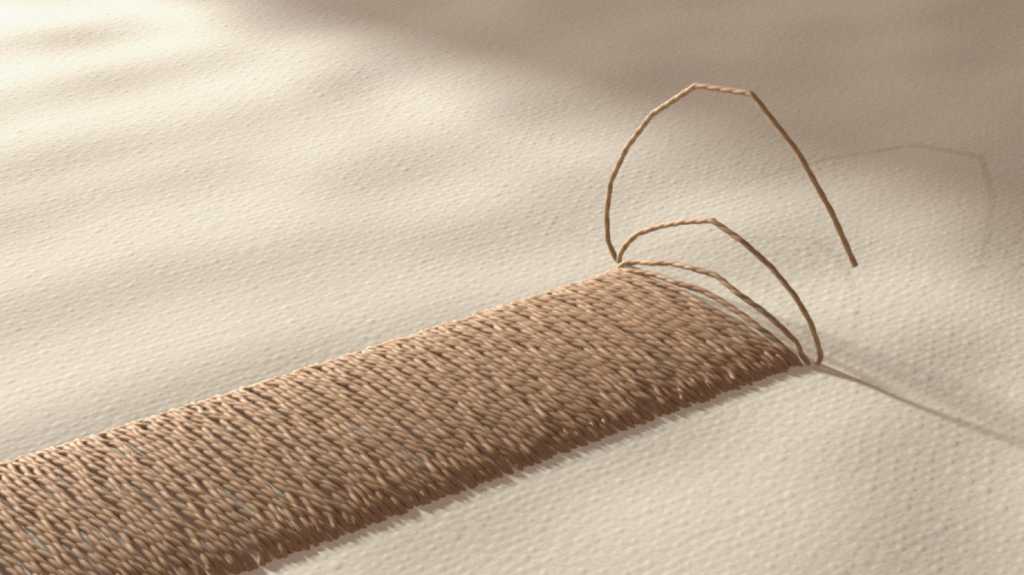
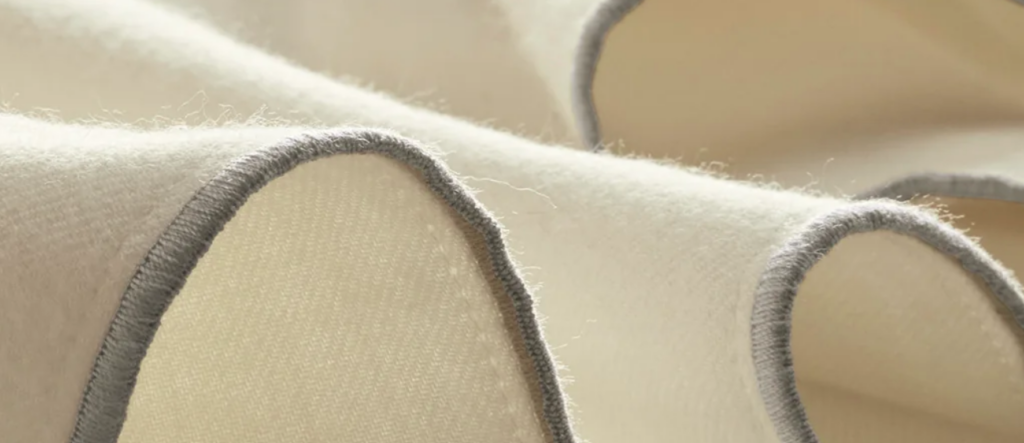
Curve Pattern Offset Growth:
Image D – Adjustable mask for newer added points to control bulge height and offset speed
Image E – Points with new buldge mask
Image F – Add node to connect points into embtoridery curve + jitter added to make it feel less perfect
Image D
Image E
Image F
Additional Control:
Since my team and I are trying to make sure that all of the shots feel cohesive with speed, I wanted to have a lot of control over speed (with the overall speed and specifically the newly added thread speed)
Feb 3, 2026
Feedback – Week 5 Review
Feedback from Mentors:
Hailey:
The sheets feel heavy with because of the simulation behavior and shaders
Shot 4 feels like it is getting stuck, cut the beginning part of it
Beck:
Animate the vellum constraints in shot 4 – they feel too stiff
Have pre-roll for vellum to
Shot 6 (Comforter) feels too stiff and like a curtain rod
Molly:
Shot 7 (Wide Bedroom) should be much more interesting since it is the last shot
There is ease-in and ease-out on your cameras
Kyle:
The end of shot 6 (Comforter fall) cuts too fast and should be slightly longer
Shot 7 (Wide Bedroom) – Use lightwrap for live action integration
Shot 4 (Sheet) feels like a ghost and like there is something pulling it down
Shot 4 should be cut shorter
Look development and lighting for the first 2 shots is needed