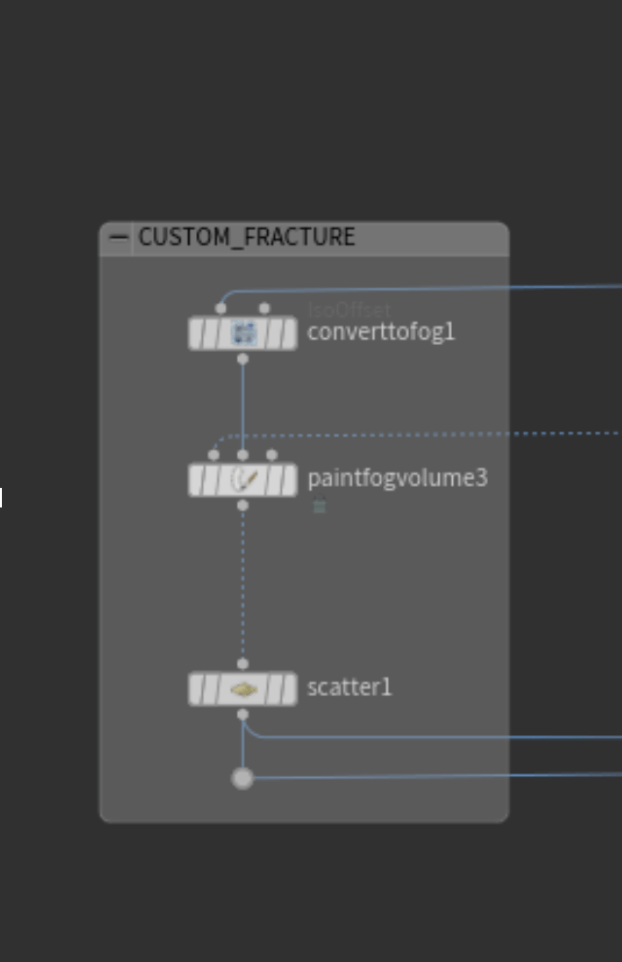
To create a custom fracture using voronoi, I painted a density map on the fog volume and scattered points within that volume.
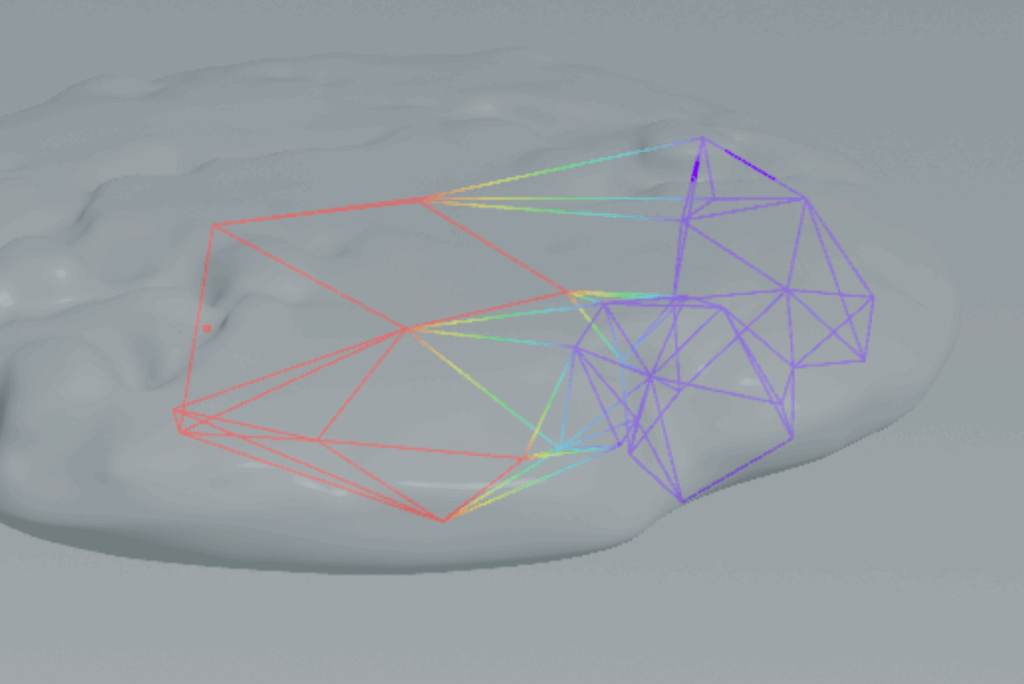
I used an attribute paint to determine which parts of the glue constraint would be affected more than others.
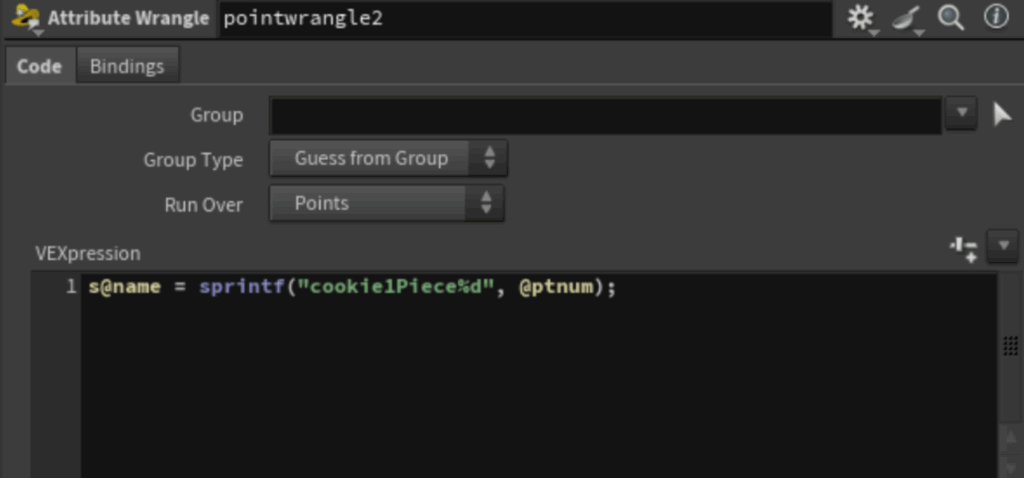
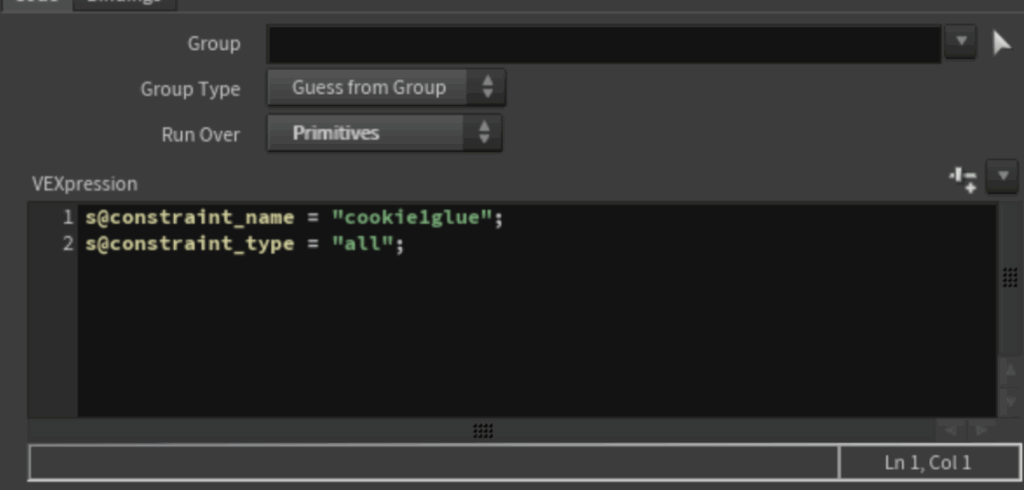
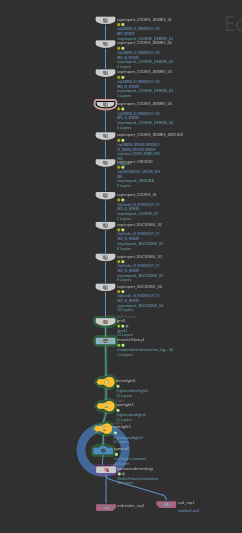
Multiple Custom Constraints – Renaming Pieces
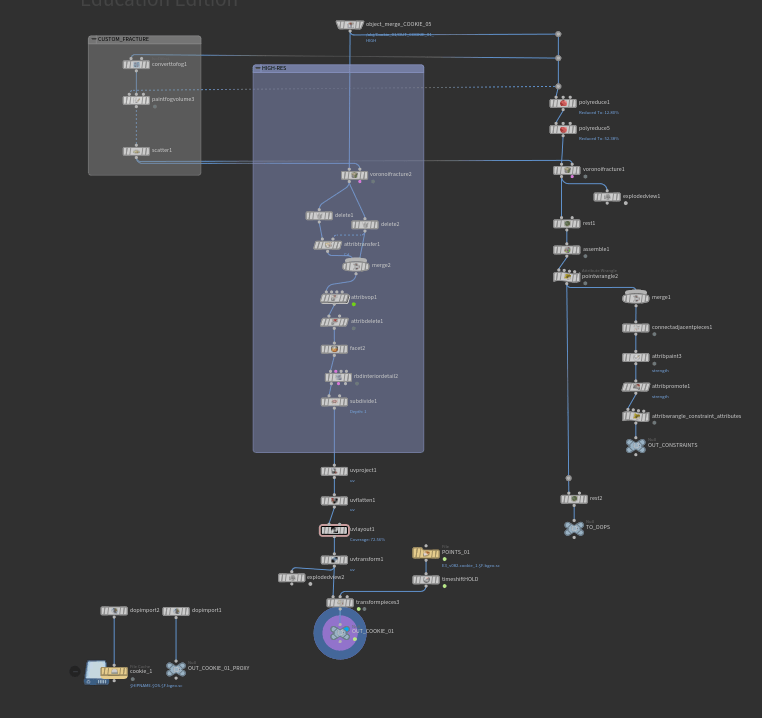
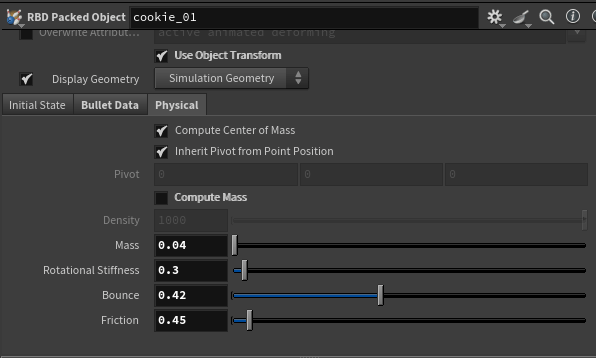
I wanted to control the break for two different cookies, but I also wanted them to interact with each other. To get two separate glue constraints in the same DOPnet, I went back into each object and renamed the pieces and constraints for each cookie.
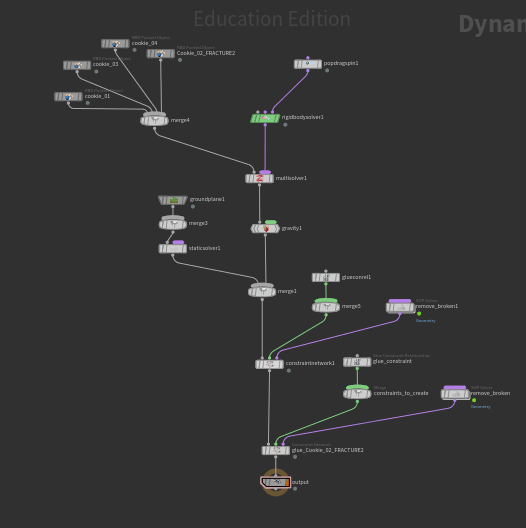
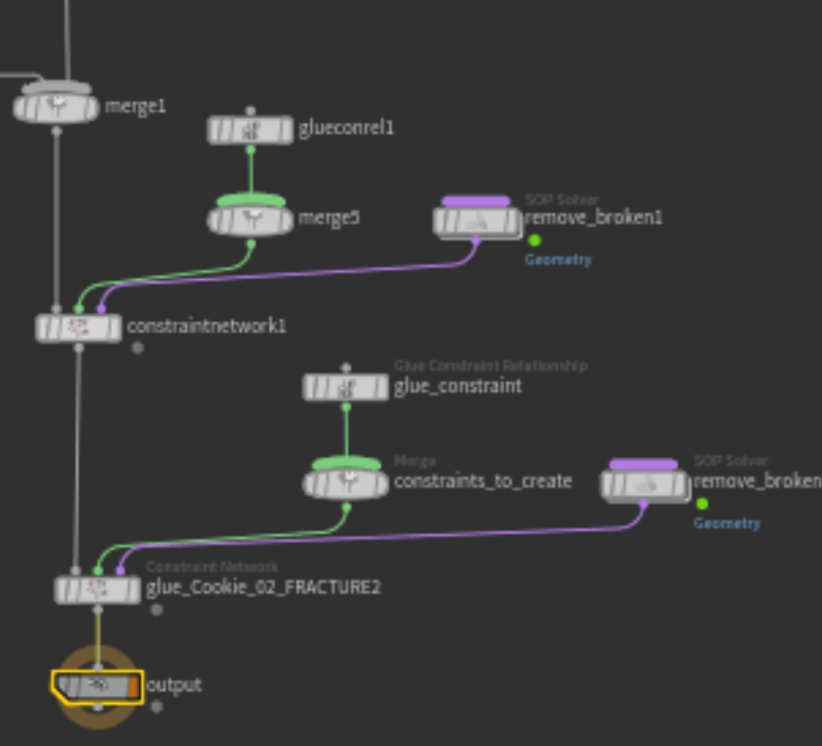
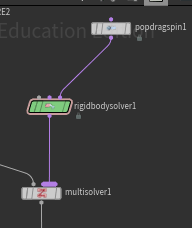
DOP Network
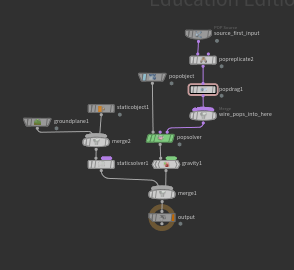
To make pieces settle once they hit the ground, I increased drag over time using $FF.
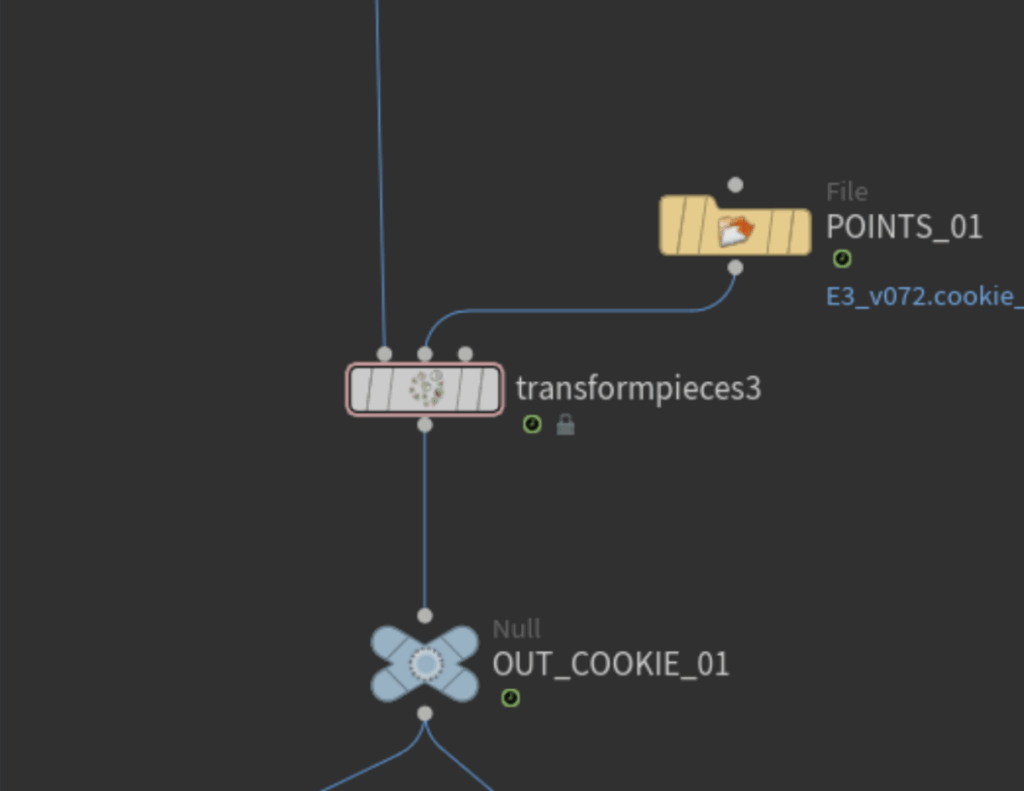
Transform Pieces
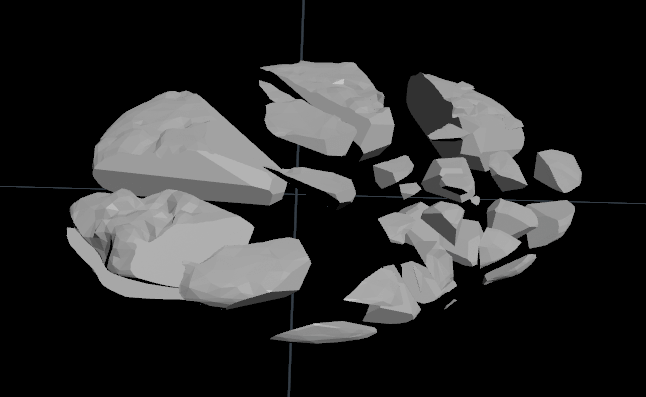
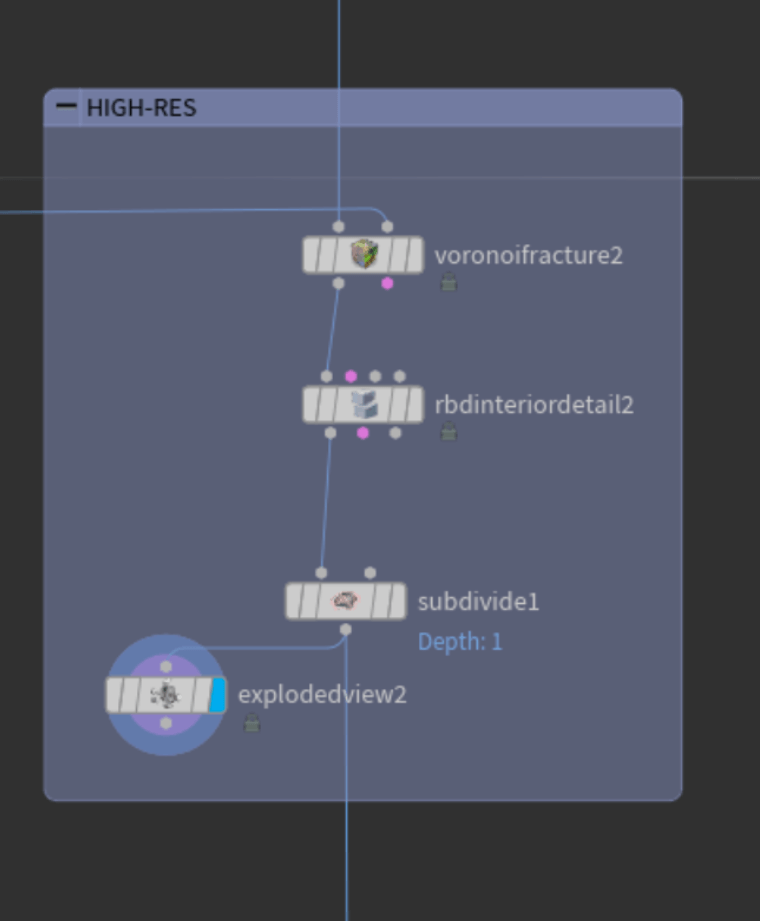
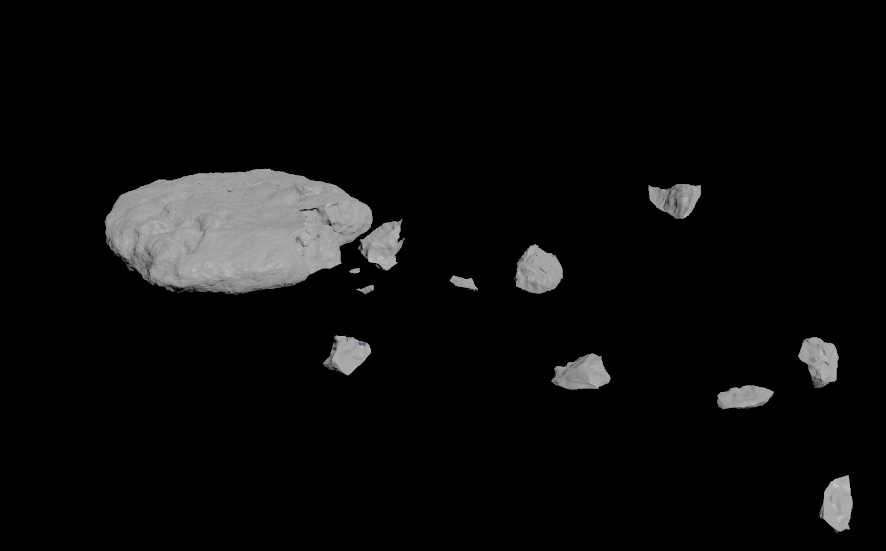
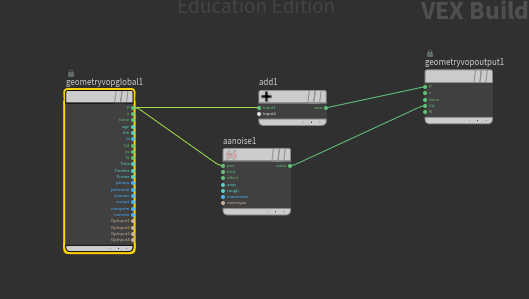
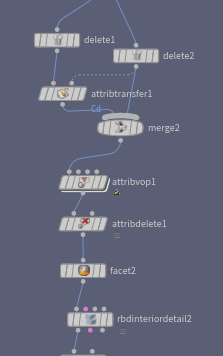
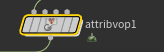
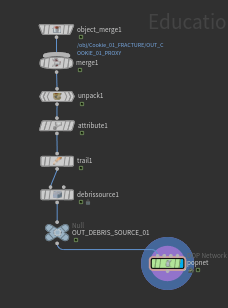
I created a low-res version of each cookie for the simulation, cached the pieces as points, then replaced them with more detailed geometry. I used the RBD Interior Detail node to add some noise to the interior pieces and I used an attribute VOP to add noise to the edges of each piece.
Points
Proxy Geometry
High Res Geometry
High-Res Geometry + Edge Noise
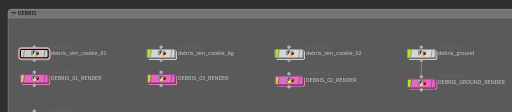
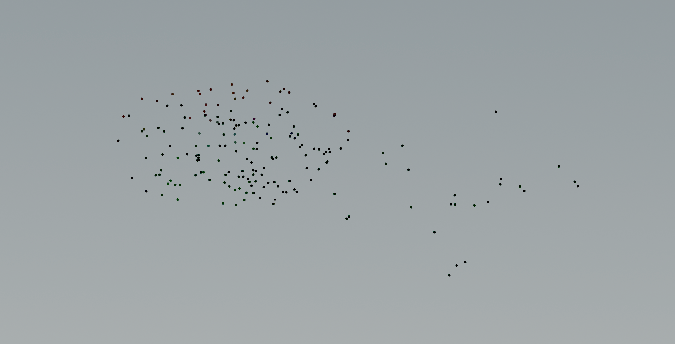
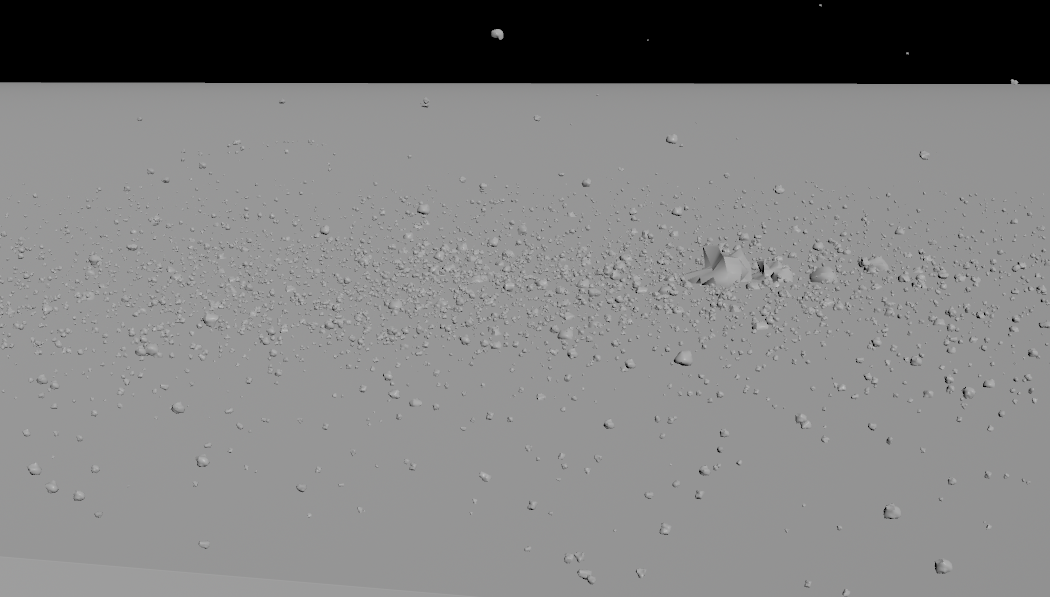
Debris
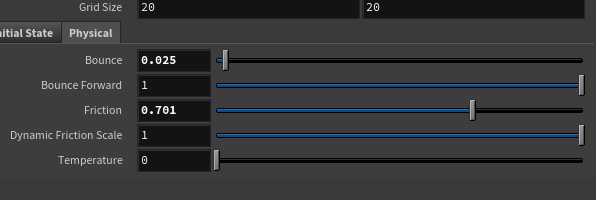
I simulated the debris using the pieces as the source for particles. Inside the POP network, I used the POP Replicate node to create more particles and adjusted the ground’s physical properties to achieve the look I wanted.
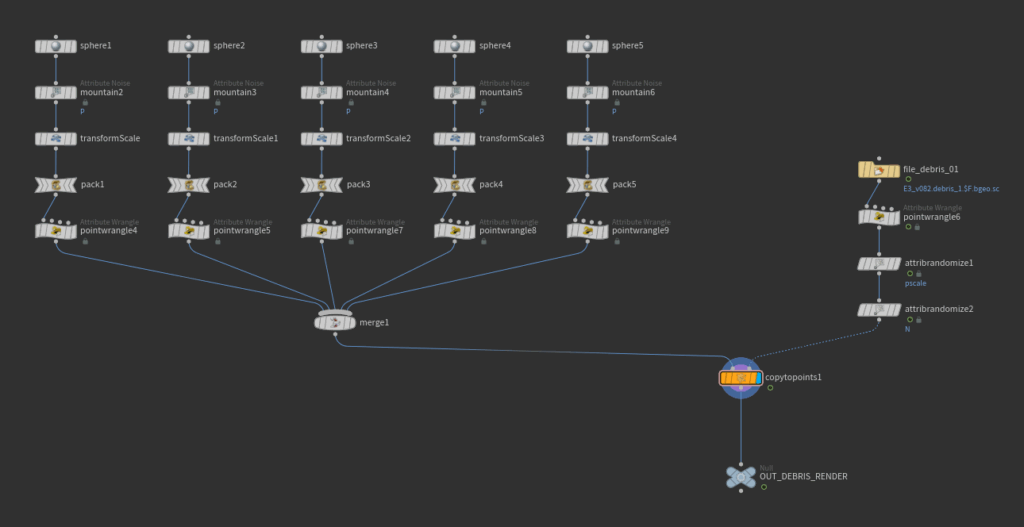
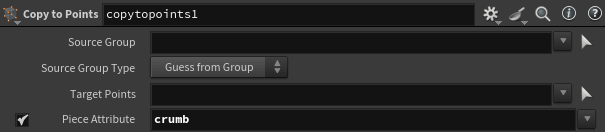
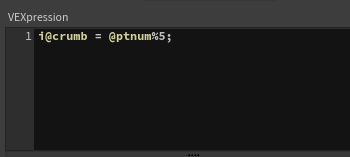
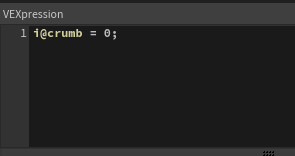
After bringing the cached points back into SOPs, I used Copy to Points and the piece attribute to replace the particles with variations of geo for cookie crumbs.
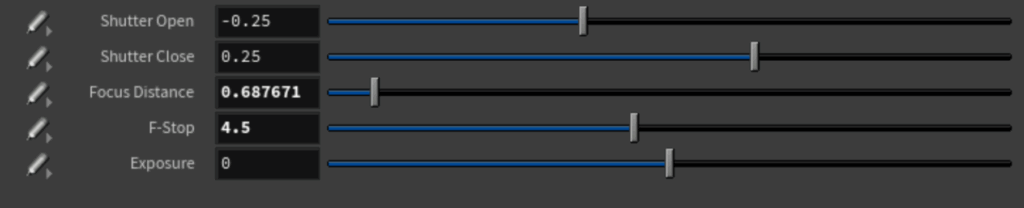
Rendering
I adjusted the camera properties to create a shallow depth of field to match the reference video.